
Photo sharing
How to Get UGC From Your Event Through Guest Uploads
Collect event UGC through deliberate guest uploads by giving every attendee a tap-to-share band that opens their own upload page and lets them set who can see each photo.
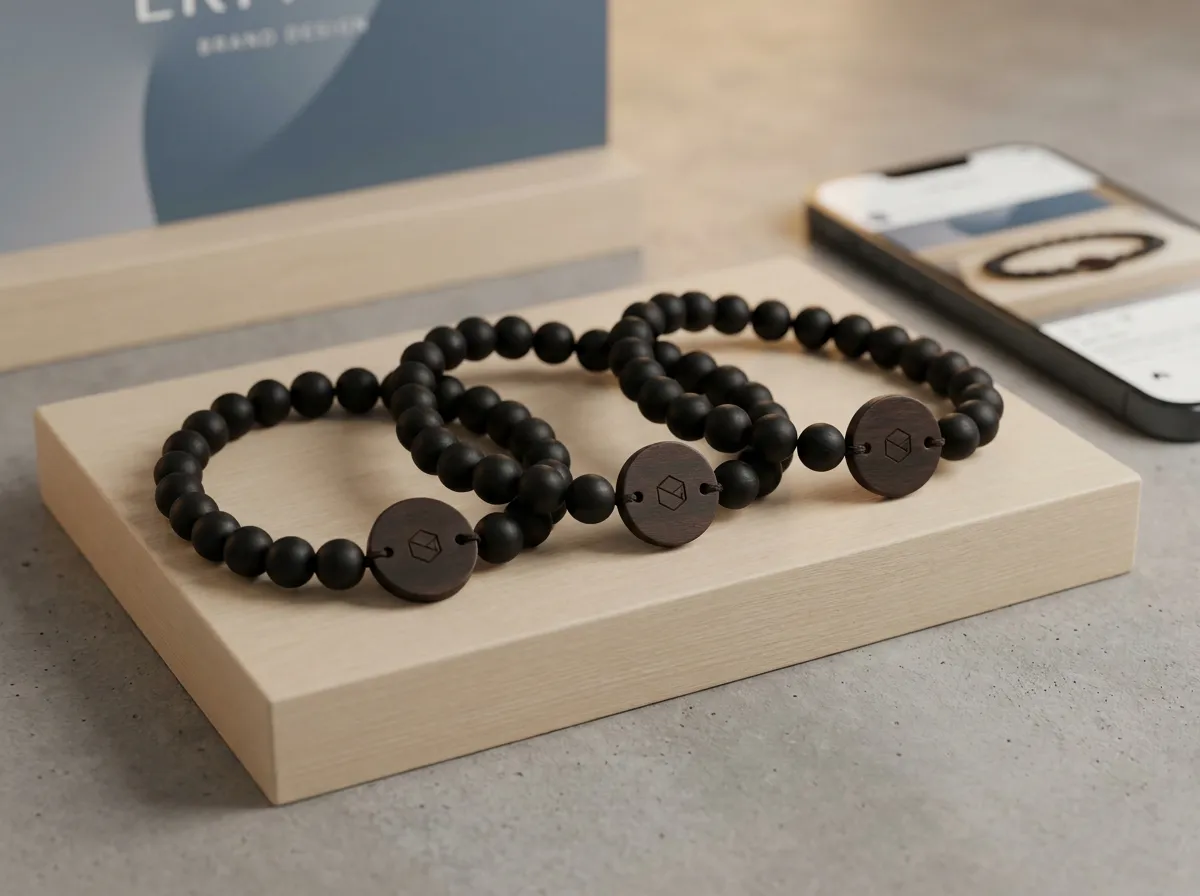
To collect user-generated content at an event, give attendees a clear upload route and explain album visibility. They tap the band to open their own page, select photos and choose who can view them. The album gathers those uploads without hashtag searches. Confirm permission separately before sponsor or promotional reuse.
Most “UGC strategies” for events are really just hope wearing a lanyard. You print a hashtag, hope people post, hope the posts are public, hope they’re flattering, and then hope you can find them again when the recap is due. The candid moments that make the best content almost never make it out of someone’s camera roll. A tap-to-share approach flips that: the easiest thing to do at the event is also the thing that builds your content library.
What counts as “ethical” UGC collection at an event?
Ethical UGC comes down to three things: people know their content might be used, they choose to share it, and they control who can see it. Quietly pulling photos off social media because someone tagged a location, or repurposing a guest’s face in next year’s ad without a clear yes, is the kind of thing that erodes trust fast.
A consent-first setup handles this at the source. When an attendee taps their band and lands on their own upload page, the act of uploading is the opt-in. And before anything goes anywhere, they set a visibility level per photo:
- Public — visible in the public album; confirm permission separately before recap or sponsor reuse.
- Group-only — visible to their crew, not the whole event.
- Organizer-only — shared with you, but not posted anywhere public.
Those settings are enforced on the server, not just toggled in the interface, so an “organizer-only” shot can’t accidentally end up on the big screen. That distinction matters: it’s the difference between a promise and a guarantee.
Consent isn’t a checkbox you bury in a waiver. It’s a choice people make in the moment, photo by photo — and the system should respect it without you policing it.
How does tap-to-share collect guest uploads?
Every attendee gets an engraved bead band with a hidden tap chip and a printed QR code as a backup. They tap the band to their phone, a page opens that greets them by name, and they upload straight from their camera roll. No app to download, no account to make, no hashtag to spell right. Every upload lands in one live album you control as the organizer.
Because the chip and QR are already linked to your event, the uploads gather in the correct album. Guests choose and submit photos during the event:
- Photos arrive throughout the day, not in a scramble afterward.
- Each one carries its own visibility setting, so sorting usable content is fast.
- You own and export the full album for recaps, social posts, and sponsor reporting.
It’s the same idea whether you’re running conferences, festivals, or brand activations — the band is the front door to the content, and people walk through it because tapping is genuinely easier than the alternatives. If you’re weighing the mechanics against a static photo wall, our breakdown of a QR photo wall vs. tap-to-share digs into why a personal upload page out-collects a shared kiosk.
What makes attendees actually want to share?
The honest answer: people share when it’s effortless and when they get something back. The band itself is a keepsake — real wood and stone beads with a laser-engraved tag, not a disposable wristband — so attendees keep it. That keepsake quality is part of the deal: they’re more inclined to participate when the thing in their hand feels worth keeping.
Naming the page after them helps too. A page that opens with “Hi, Maya” feels personal, not like a corporate data grab. And because the photos guests upload gather in a shared album, attendees see the collective story forming in real time, which nudges more uploads. Many organizers find that when sharing is the path of least resistance, participation takes care of itself. You can shape the band’s look, beads, and engraving in the 3D configurator so it matches your event’s identity from the first tap.
Can sponsors and recaps use this content cleanly?
Confirm permission for the intended sponsor or recap use separately from the public visibility setting. An attendee choosing public album visibility does not itself establish permission for every external use. For delivery planning, see event albums for sponsors; for collection, see collecting event photos.
A few honest guardrails to keep it clean:
- Tell attendees up front, in plain language, that public photos may be used in recaps and sponsor materials.
- Respect the visibility levels people set — if it’s organizer-only, it stays out of public decks.
- Export only what you need, and keep the originals where you can honor a later “please remove mine” request.
None of this requires a legal team or a complicated platform. The structure does the heavy lifting because consent and collection happen in the same tap.
The takeaway
Give attendees a clear way to select and upload photos, with control over album visibility. Review permission for any intended sponsor or promotional reuse separately. Planning weddings instead of corporate events? Our sister brand Wearable Wedding runs the same system for couples. Build yours in the configurator, explore use cases and white-label options, or check pricing — bands are made to order from five.
